MacOS preinstalled Automator
A standard approach to automate mouse clicks on your Mac M1-M4 laptop
Automator is an incredibly versatile and powerful tool that comes pre-installed with macOS, designed to help users automate repetitive tasks with minimal effort. Originally introduced in macOS 10.4 (Tiger), it has since become a core feature for those looking to streamline workflows without needing to write complex code. Automator allows users to create “workflows” by stringing together various pre-built actions, which can be executed sequentially to accomplish specific tasks, such as batch renaming files, resizing images, or even automating complex sequences of mouse clicks and keyboard inputs.
The Concept of Workflows
At its core, Automator operates based on workflows. These workflows are essentially a series of actions that are executed in a specific order to perform a particular task. Users can think of a workflow as a recipe, where each step (or action) contributes to the final result. What makes Automator special is its user-friendly, drag-and-drop interface, which requires no programming experience. You don’t have to write scripts to automate your tasks; instead, you assemble workflows by dragging actions from a library and placing them in sequence on a canvas.
Each action in Automator has a specific input and output. For instance, one action might accept a list of files as input and then rename them, while another action might resize those files. Actions can also feed into one another—an action’s output can become the next action’s input—allowing for complex and dynamic workflows to be built without much effort.
Pre-Built Actions and Extensibility
Automator comes pre-loaded with a rich set of actions for almost every standard app on macOS. These actions range from file and folder manipulation to interacting with the web or managing media. Some of the most common actions include:
- Finder Actions: Renaming files, moving files, copying files, etc.
- Text Actions: Converting text, extracting text from PDFs, formatting text, etc.
- Image Actions: Resizing images, converting formats, applying filters, etc.
- Internet Actions: Downloading web pages, retrieving URLs, checking RSS feeds, etc.
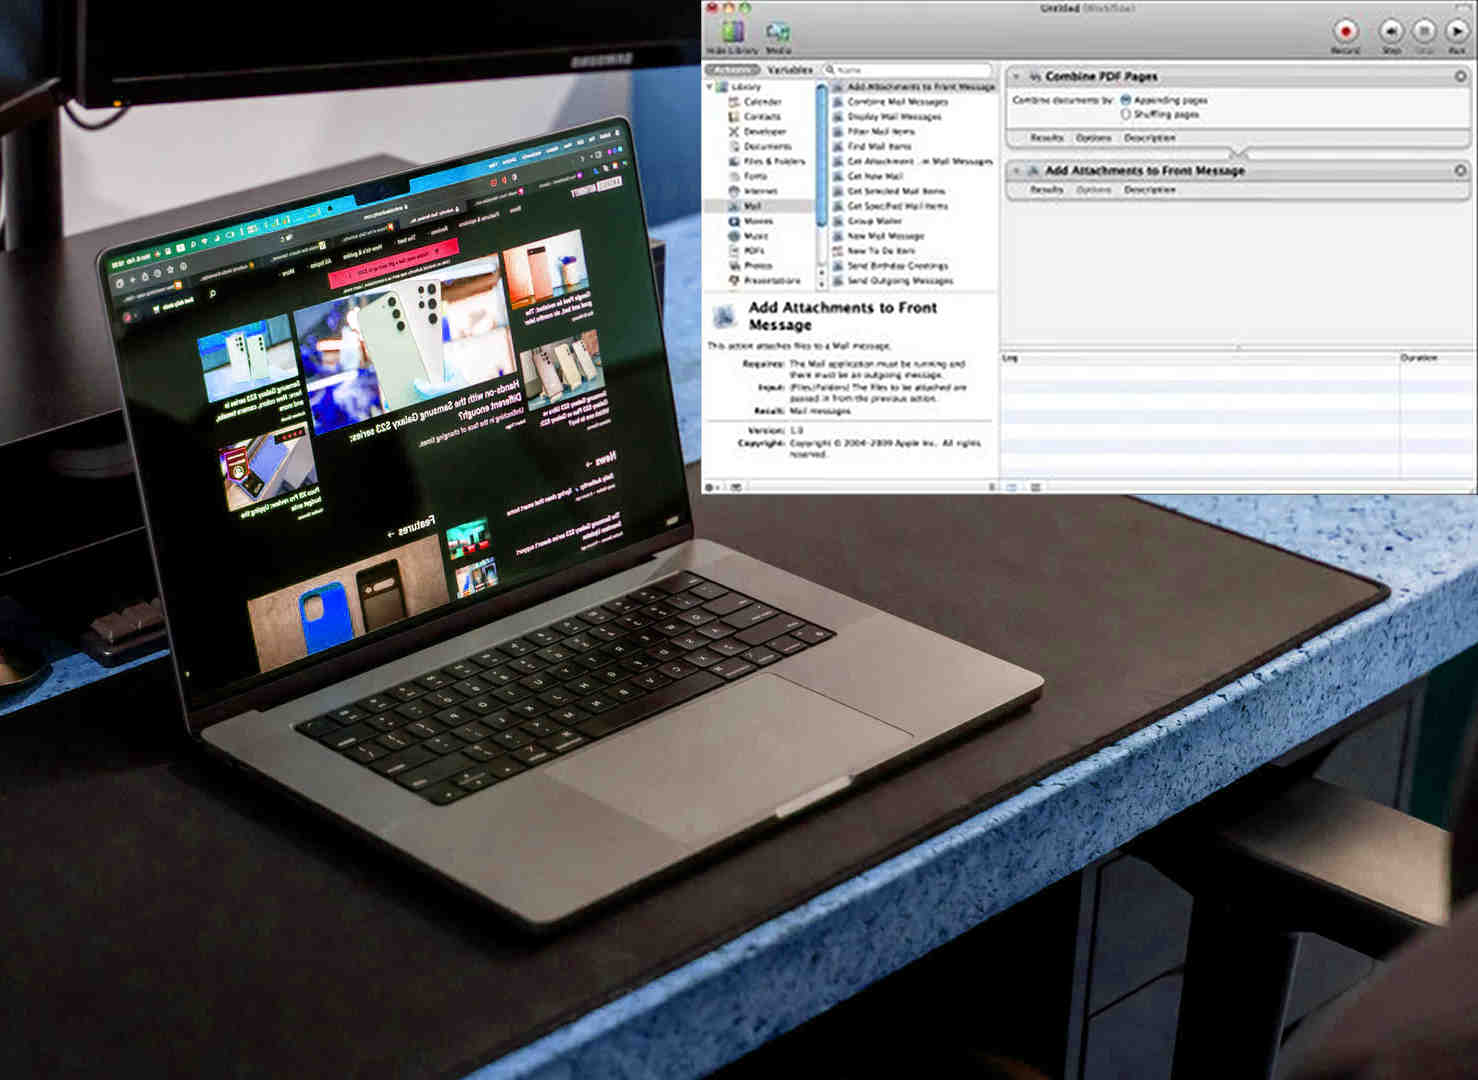
- Mail Actions: Sending emails, adding attachments, filtering messages, etc.
Automator is also highly extensible. Third-party applications can provide their own Automator actions, and advanced users can even create their own custom actions using AppleScript or JavaScript, adding even more flexibility and functionality.
Types of Workflows
When you create something in Automator, you have multiple output options. You can choose between several types of workflows, depending on your needs:
-
Application: A self-contained app that you can run just like any other macOS application. These are ideal for tasks you need to perform regularly without opening Automator. For example, if you create an application that automates renaming files, you can run it by double-clicking on it, and it will do the job without requiring any manual input.
-
Service: Services can be accessed from the context menu or through a shortcut while using other applications. For instance, you might create a service that converts selected text into an audio file. The advantage of services is that they integrate seamlessly with the rest of the system.
-
Quick Action: Similar to services, Quick Actions allow workflows to be executed via the macOS Finder, Touch Bar (on supported models), or context menus. They are convenient for quick, repetitive tasks, such as resizing images or adding watermarks.
-
Folder Actions: These workflows are tied to a specific folder, meaning that whenever you add a new file to that folder, the workflow will automatically execute. A common use case for this would be automatically sorting or processing files as soon as they are downloaded or added.
-
Calendar Alarm: You can schedule workflows to run at specific times or dates by attaching them to Calendar events. This is useful for scheduling regular maintenance tasks, like backing up files or sending routine emails.
-
Print Plugin: These workflows integrate with the printing system of macOS. You can create print plugins that perform actions before or after a document is printed, such as archiving a PDF version of the document.
-
Dictation Command: You can even link workflows to specific voice commands, leveraging macOS’s dictation feature. This allows you to execute custom workflows just by speaking to your Mac.
Practical Uses of Automator
Automator is a swiss-army knife of automation, and its applications are vast. Whether you’re a casual user, a creative professional, or a power user, you can find practical uses for it. Some common examples include:
-
File Management: One of the most frequent use cases is organizing and managing files. For example, you can create a workflow that automatically renames a batch of files based on their creation date, moves them into specific folders, and archives them in a ZIP file. This can be incredibly useful for photographers, designers, or anyone dealing with large volumes of files.
-
Media Processing: Automator can handle various media-related tasks, such as resizing images in bulk, converting image formats, or even creating GIFs from video clips. For those who frequently work with media, this can save hours of manual processing.
-
Text Manipulation: Automator can automate tasks such as extracting text from images or PDFs, converting text to speech, or even summarizing large bodies of text. Writers, students, and office workers can use it to speed up research and content creation tasks.
-
Application Automation: If you’re working with complex applications like Photoshop, Excel, or even game apps like Minecraft, Automator can save time by automating sequences of clicks and keyboard inputs. This can be useful for tasks such as repeating image edits, filling spreadsheets, or automating in-game actions like mining.
-
Web Automation: You can also automate tasks related to the web. For example, you could create a workflow that regularly checks for new posts on a specific blog or downloads new content from a website. Automator can also automate the filling out of web forms or logging into websites.
Example usage of Automator in Minecraft
To automate mouse clicks on your Mac laptop with an M1-M4 CPU using Automator, you can follow these steps. Automator is a built-in macOS app that allows you to create workflows for repetitive tasks. As a Minecraft player, you could use it to automate actions like mining or crafting by simulating mouse clicks. Here’s how to do it:
-
Launch Automator: Open the Automator app by going to Applications > Utilities, or use Spotlight to find it quickly.
-
Create a New Application: When Automator starts, select New Document and choose Application from the options. This will let you save your workflow as a standalone app later.
-
Record the Mouse Clicks: Click Workflow in the Automator menu and then click Record. Now, perform the mouse clicks or actions you want to automate. This could be something like continuously clicking a block to mine in Minecraft. When done, click the “Stop” button.
-
Add a Loop: To repeat the clicks, drag the Loop action from the Utilities section on the left to the workflow. Set it to either loop a specific number of times or for a specified duration. For endless clicking, set it to 0 (no limit).
-
Save the Application: Press Command+S or go to File > Save. In the save dialog, select Application from the File Format dropdown. Name your app and choose a save location.
-
Grant Permissions: macOS requires permission to allow apps to control the mouse. Go to System Settings > Privacy & Security > Accessibility and enable the toggle for your Automator app. If it’s not listed, click the + icon, find the app, and add it.
-
Run the Clicker App: Now, double-click your saved application to start the automated clicks. If you want to stop it, click the Automator icon in the top-right menu bar (it looks like a spinning cog) and select Stop.
This method is perfect for automating simple tasks in Minecraft, like holding down a mouse button for mining or crafting while you’re AFK. Just ensure your app has the right permissions, and you’re good to go!
Automating Mouse and Keyboard Actions
A lesser-known but highly powerful feature of Automator is its ability to record and replay mouse movements and keyboard inputs. This makes Automator a useful tool for automating tasks that require physical interaction with the computer, such as testing software or automating in-game actions for casual games like Minecraft.
To record mouse clicks or keystrokes, you would use the Watch Me Do action. This action records your interactions with the Mac, including clicks, drags, and typing. You can then add a Loop action to repeat these actions for as many times as you need, creating your very own macro system.
For example, if you were playing Minecraft and needed to automate the process of mining resources, you could record your clicks using Automator. Once the clicks are recorded, you can loop them endlessly or for a set duration, letting the game continue mining while you step away from the keyboard.
Integrating Automator with Other macOS Technologies
Automator also works seamlessly with other macOS technologies. For example, you can integrate it with AppleScript and JavaScript for Automation (JXA) to add more advanced capabilities to your workflows. AppleScript is a scripting language designed for automating the actions of applications on macOS, and JXA is a JavaScript-based automation technology. Both of these can be embedded into Automator workflows to extend its functionality beyond the pre-built actions.
In addition, Automator can be combined with Siri Shortcuts for voice-activated automation. By creating a Siri Shortcut that runs a specific Automator workflow, you can control complex sequences of actions just by asking Siri to execute them.
The Future of Automator
While Automator has been an essential part of macOS for years, it’s worth noting that Apple has been pushing its Shortcuts app as the future of automation on macOS, especially with the release of macOS Monterey and beyond. Shortcuts brings similar functionality to Automator but with a more modern and streamlined interface. However, Automator remains a powerful and essential tool for legacy workflows and more complex automations, especially for those deeply familiar with its structure and capabilities.
Conclusion
In summary, Automator is a robust, flexible tool designed to simplify and automate repetitive tasks on macOS. Its user-friendly, drag-and-drop interface allows anyone—from casual users to professionals—to create workflows without needing to write code. With a broad range of pre-built actions and extensibility options like AppleScript and JavaScript integration, Automator continues to be a valuable tool for saving time and improving productivity. Whether you’re organizing files, processing media, or automating mouse clicks, Automator empowers you to do more with less effort.
Hot 3; Oct 22, 2024